
Underwater Tile Repair

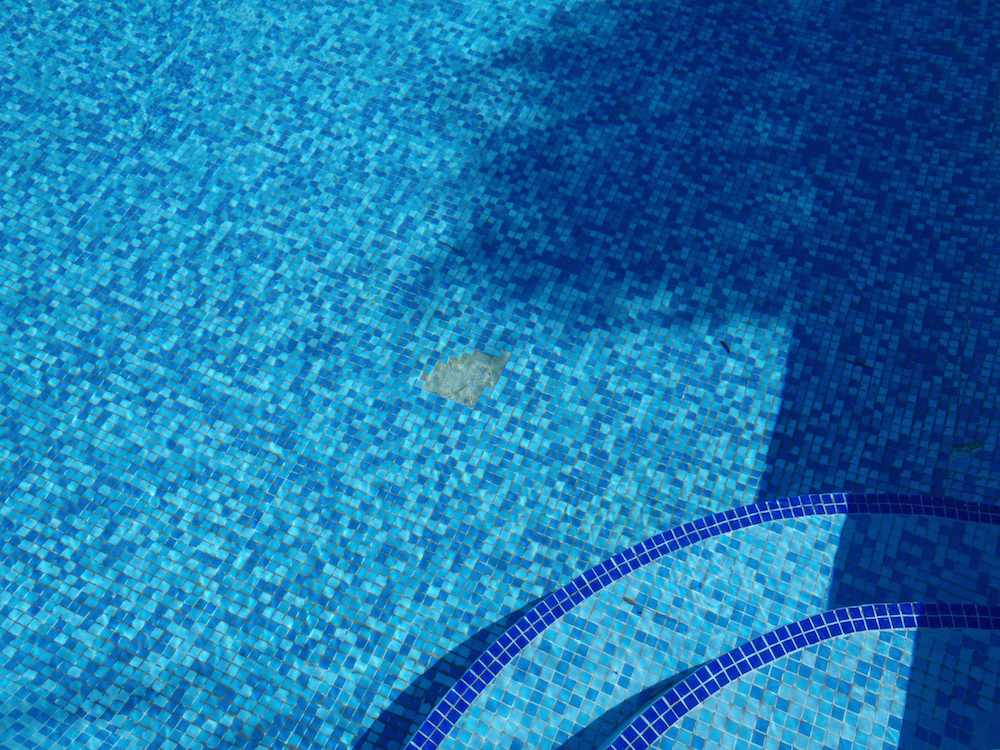

This pool had some missing tile on the floor and walls. The included before and after pictures and video (below) show the largest area of repair. In order to have a nice looking repair I removed all the remaining loose tile and squared up the hole. I then dug out all the subsurface so I could float out the hole with my patching material, this ended up being about 11x11in. and 1/2 inch deep. Luckily the homeowner was able to save some of the remaining tile from the original installation. Tile can be discontinued by the manufacture or be inconsistent in color and size from lot to lot, so always ask the builder or installer for the left over tile for later use. It came in handy on this one.
I wanted to ensure that I was able to embed the tile sheet in my patching material with time to work it in and about, so I floated it out early in the setting stage of my cement. This led to a bit more dust than I was hoping for and made video quality less than perfect. Not so perfect video equaled almost perfect repair. I am a little fat on one of my grout line and a little skinny on the opposite side. I went back to this job today to take the after picture. I am happy with the repair, it is level with the surrounding tile and my grout lines are unnoticeable from outside the pool.
I edited this video from two longer pieces of video. If you aren’t to distracted by how handsome I am in my new wetsuit you may notice the jumps in the video:-)